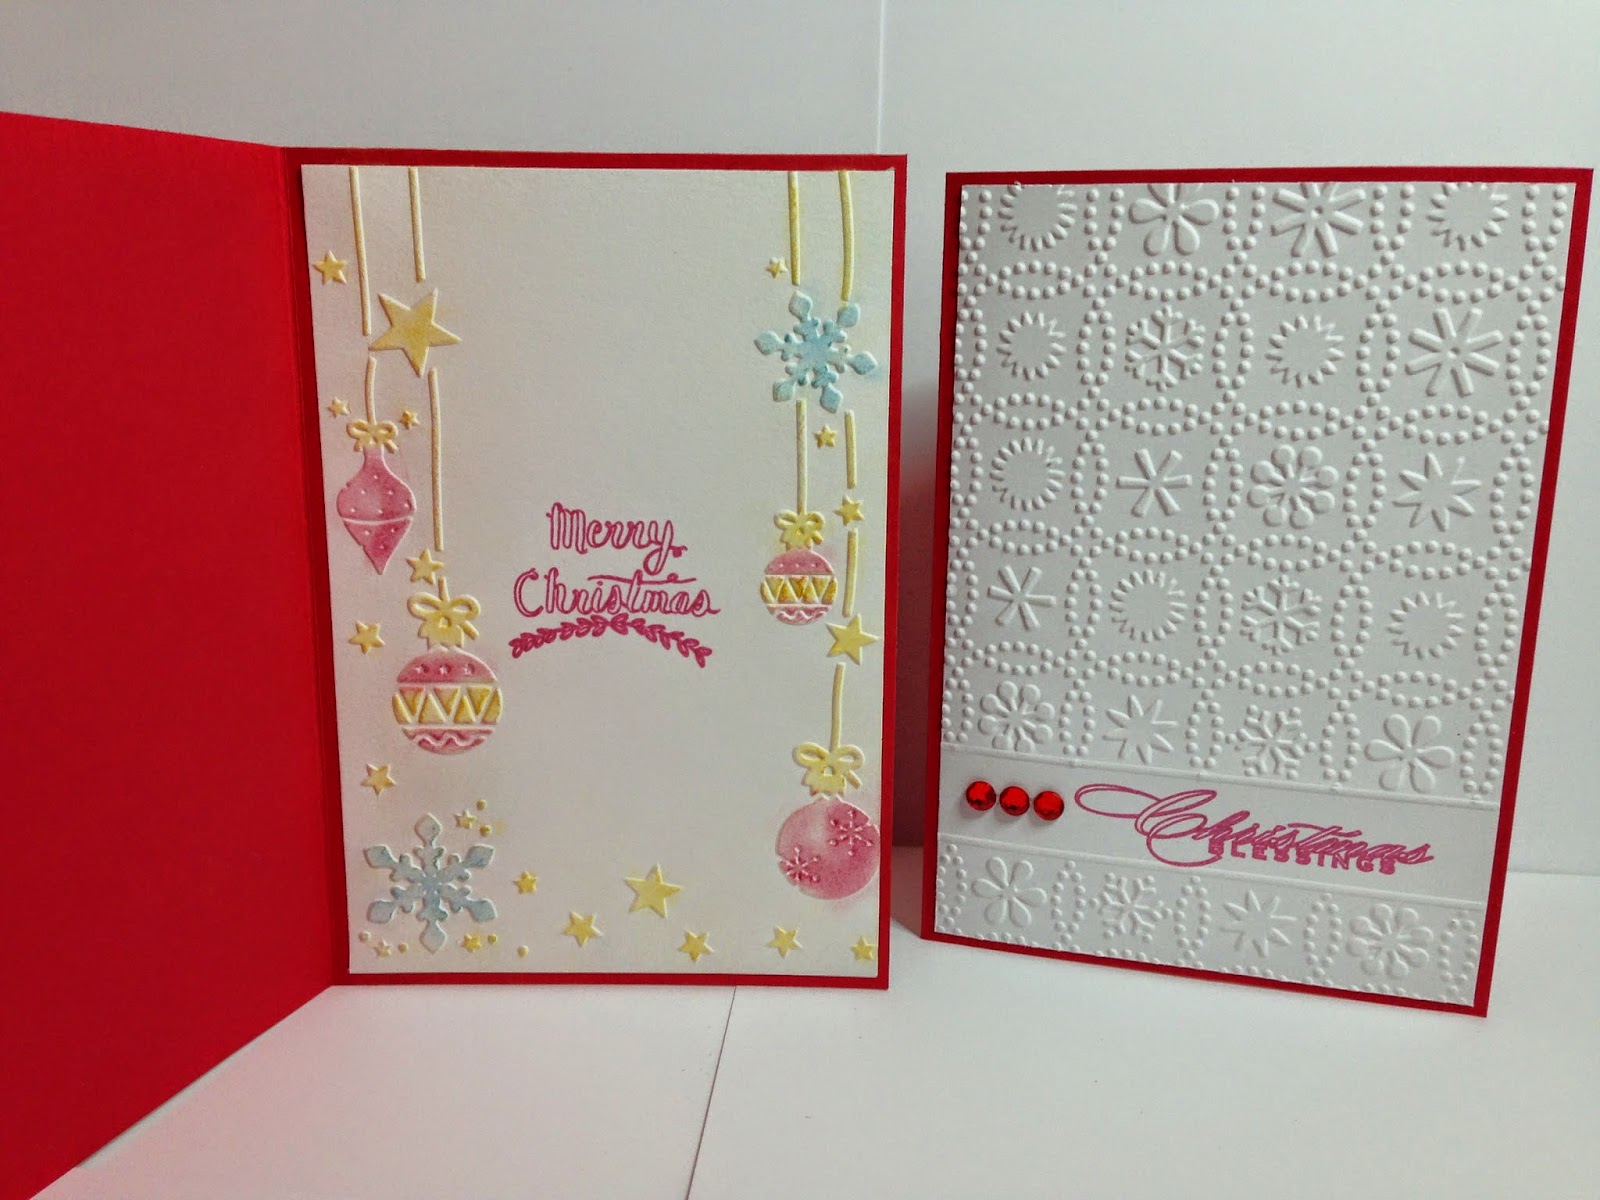
 This year I needed a fair few Christmas Cards in a short space of time so I broke out the Cuttlebug and the Silhouette Cameo and got busy! Ironically the inside took longer than the outside!!!
The outside uses either the Cuttlebug Snow Dots or Snowflakes. The inside was either Darice ornament/ star/ snowflake and then chalked. The sentiments were written by my Silhouette Cameo as it was quicker than stamping with the short time I had available. The files for both are found on the Silhouette Studio shop.
I thought I would do a quick how to: Click on the pictures to enlarge:
 Ok put the cardstock in the folder with the edge of the folder stopping above the text / stamp / gap you want.
Put it in the Cuttlebug with A plate, B plate, embossing folder with card in, *then* B plate BUT make sure the edge of the plate is just above the edge of the folder (otherwise you will get a folder edge mark).
Wind it through.
 Repeat on the other side of the card (check you have your folder the correct way around. This one is using the Snowflakes folder which is nice and easy to work with as there are no lines or patterns that need lining up.
 That leaves you with a front panel like this. Which although it looks nice it for me needs lines above and below the sentiment. As you can see with the snowdots more care must be taken to line up the dots due to the pattern.
Turn the cardstock panel over and score.

And that is that! Front panel created. It looks stylish and clean.

 Now so as not to ruin my hard work... I put tape on the edges of the panel but I only remove the backing from ONE side (top in this case) then position the panel onto the card blank (prepared earlier.) being sure to only push onto the sides that do not have their tape revealed until happy with the position, then push the taped side into position. Now with the top affixed peel the other tape covers off and stick.
Add Bling!!
The insides can be left white or chalked. One of the kids got involved in this a few smudges but pretty great I thought.
Sarah


