Tuesday, January 7, 2014

A Recycled Christmas.

This year I am determined not to leave my Christmas cards until the last minute (like how many other years?) so I am doing Christmas Challenges through the year to keep me motivated.


The first challenge I am entering is an Up-cycled/Recycled/Free Christmas Card Challenge at Crafty Hazelnuts Christmas Challenge.

The second challenge at Laineys Crafty Space - Christmas Fun is Anything Goes!  As long as it is a Christmas Card.

The third challenge at Challenges 4 everyone is Anything Goes as well.

The fourth challenge at Card Makin' Mamas is also Anything Goes!

Ok so on with the card... the challenge to recycle/up-cycle... the boys had rescued some Christmas cards a few years ago that someone was throwing out!  (Yes perfectly good cards - not even written in!)


  • So I cut out Santa... completely on one (very fiddly!), then on the second one I cut the sack, hand, cuff, coat bottom ruffle and Santa's head!  Mounted them all on foam to give the image some depth.  Next B handed me the Christmas Tree card (even more fiddly lol) and so I cut that. 
  • I then scored some white card to make a box shape on the front of the card (Thank you Ultimate Crafters Companions score board.. soooo easy!).  
  • My lovely Silhouette Cameo next was employed to cut the window out of black card.  
  • I scored in some detail and mounted with both foam and tape to give dimension.  
  • I then manually cut the "window"out of the front panel of the "box".  
  • I hand measured and cut a front panel then embossed it in my Cuttlebug using a Sizzix - Tim Holtz embossing folder to give a brick effect.  
  • The window got a backing of recycled embossing folder packaging as the window. (Which made taking photos a nightmare as I have a white iphone lol)
  • So on the front of the "box" I put the brick panel then the window on using double sided tape.
  • I mounted some nice "wall paper" from my stash, added a stamped Chandelier and heat embossed with gold.
  • Santa and the tree then made themselves at home in the room with some handy-dandy double sided and foam.
  • I sealed the box then made and mounted a card and double sided it on the back.
  • The finishing touch some glue and Flower Soft "Polar Soft" - and if you are going to use this... TURN OFF THE FAN *chuckle*  Snow in Western Australia.. who would have thought?!?


Happy Crafting *Hugs* Sarah


Tuesday, December 31, 2013

Christmas 2013

I hope everyone had a very Merry Christmas and I wish everyone a wonderful and happy New Year!

Now Christmas is over I can post some of the Christmas Cards I made.
I bought big packs of Red, White and Green (Lime was all I could get) from office works. 
The stamps are various from magazines I read the most recent acquisition were some beautiful stamps from Australian Simply Cards (Issue 61); Beautiful Spellbinders Christmas Ornaments stamps and a Christmas embossing folder that I embossed using my Cuttlebug then brayered over with a Versa Mark Watermark ink and then gold embossing powder then melted. *phew*
The holly is cut using Heartfelt Creations Spellbinders Holly-Ornament dies and then embossed using a stylus.  The backgrounds are embossed through my Cuttlebug using Holly Ribbons Embossing Folder; Christmas Ornaments Embossing Folder; Allegro Embossing folder; Three Kings Embossing Folder; Dots and Snowflakes Embossing folder;


As you can see from the above picture the focal point of the card is two sided which actually is removable and a hangable decoration ;-)

Happy Crafting *hugs* Sarah

Wednesday, October 9, 2013

Diamond Anniversary!

Well it is Nan and Granddad's 60th Anniversary tomorrow... so time to celebrate!  
I have used Fancy Grace Open Book by Amanda Davis (join her Facebook group to purchase and get some great inspirations and friendly advice) cut on my Silhouette Cameo of course.  
The heart is made using a Silhouette File "2 Doily Hearts" by Lori Whitlock from the Silhouette shop. Design ID #37917
The card is a mix of matt white cardstock, "diamond glitter" cardstock and gold mirror-card.
We had a little celebration when our modifications on the Sketch Pen worked - Mr Tom drilled a perfectly sized hole in the lid of the Red Sketch Pen (that never worked) which now fits normal sized gel pen innards.
I hope they like it!

This one shows the glitter a little better... its so hard to photograph lol...

Ok Happy Crafting

*hugs*

Sarah

Monday, September 30, 2013

Sweet boxes and envelopes!

Well my not so tidy desk got invaded and all my skinny bits of paper were stolen with a trill-lil-lil and a flipperty flap of "you are not having this back it is all MINE" from Spinny our Black Faced Wood Swallow.

I have been busy making some little sweet shoppe's for my Grandparents since they both love getting post.  One I played with the Tim Holtz Brick embossing folder.  The Sweet Shoppe was a design from the Silhouette Online Store, cut out and modified a little with the Silhouette Cameo.  
In the foreground of the photo you can see the individualised envelopes for Nanna and Granddad since they are all going into a mail box we were able to add a little bit of fun and interest.
So Lollies (including sugar free for Granddad), letters, cards and photos all ready to go!


 Happy Crafting *hugs* Sarah x

Sunday, September 22, 2013

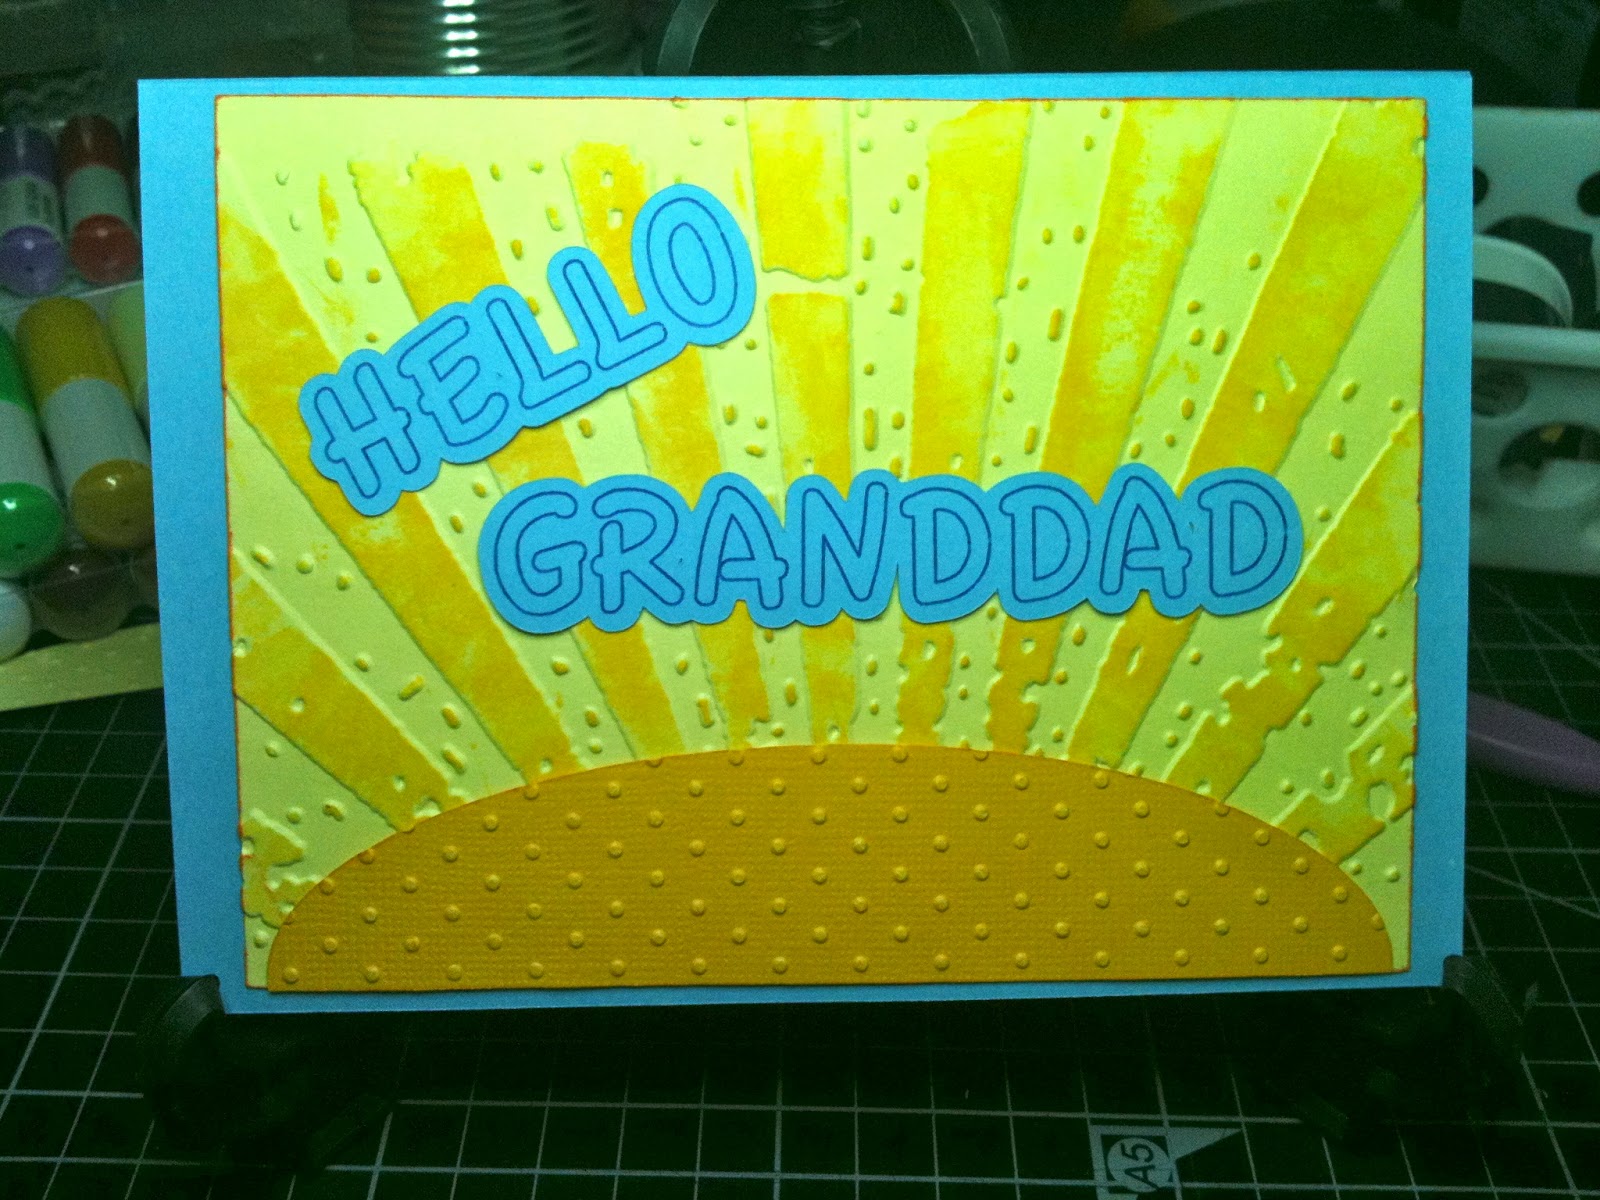
Hello Granddad!

Another quick card that took way too long to make (silly mistakes causing start overs lol)...

My Granddad is having a stay in the hospital so aside from calling every day we are sending love and happiness by post :-)

Hello Granddad was done with my Silhouette as were all the cuts (because I cannot cut a straight line to save my life lol) the background folder is a Tim Holtz.. Alterations, Texture Fades Rays (A2)... embossed through the Cuttlebug... then inked in Memento Dye Ink Dandelion.  The sun is embossed in Swiss Dots by Cuttlebug.
The inside is written by my Silhouette... found the right settings now ;-) hehe.  De-bossed then embossed to give more texture through the Cuttlebug using a home made defuser plate made from a self healing mat.  The Embossing folder was Christmas Stars but seems to lend itself to bright and cheery :-)

If you need information on how I made my Defuser - to leave an oval un-embossed in the centre... click here ;-)

Happy Crafting *hugs* Sarah

Twit T-Woooo

It's a family thing... Owls say Twit T-Wooo... ;-)

My Family has been having a hard time of it at the moment... so I am sending some LoVe in the mail... first card is for Nanna...


The Front is debossed with my trusty Cuttlebug with the folder Owl Flourish.  The inside is embossed with the mpress folder called Tulips Windows.  The writing is done with my Silhouette Cameo... so glad I have it because there are no stamps that say Twit T-Wooo hehehe

Ok Onward to Granddads card so he has something nice to open too :-)

*hugs*
Sarah