Diffusers
for Cuttlebug.
Ok
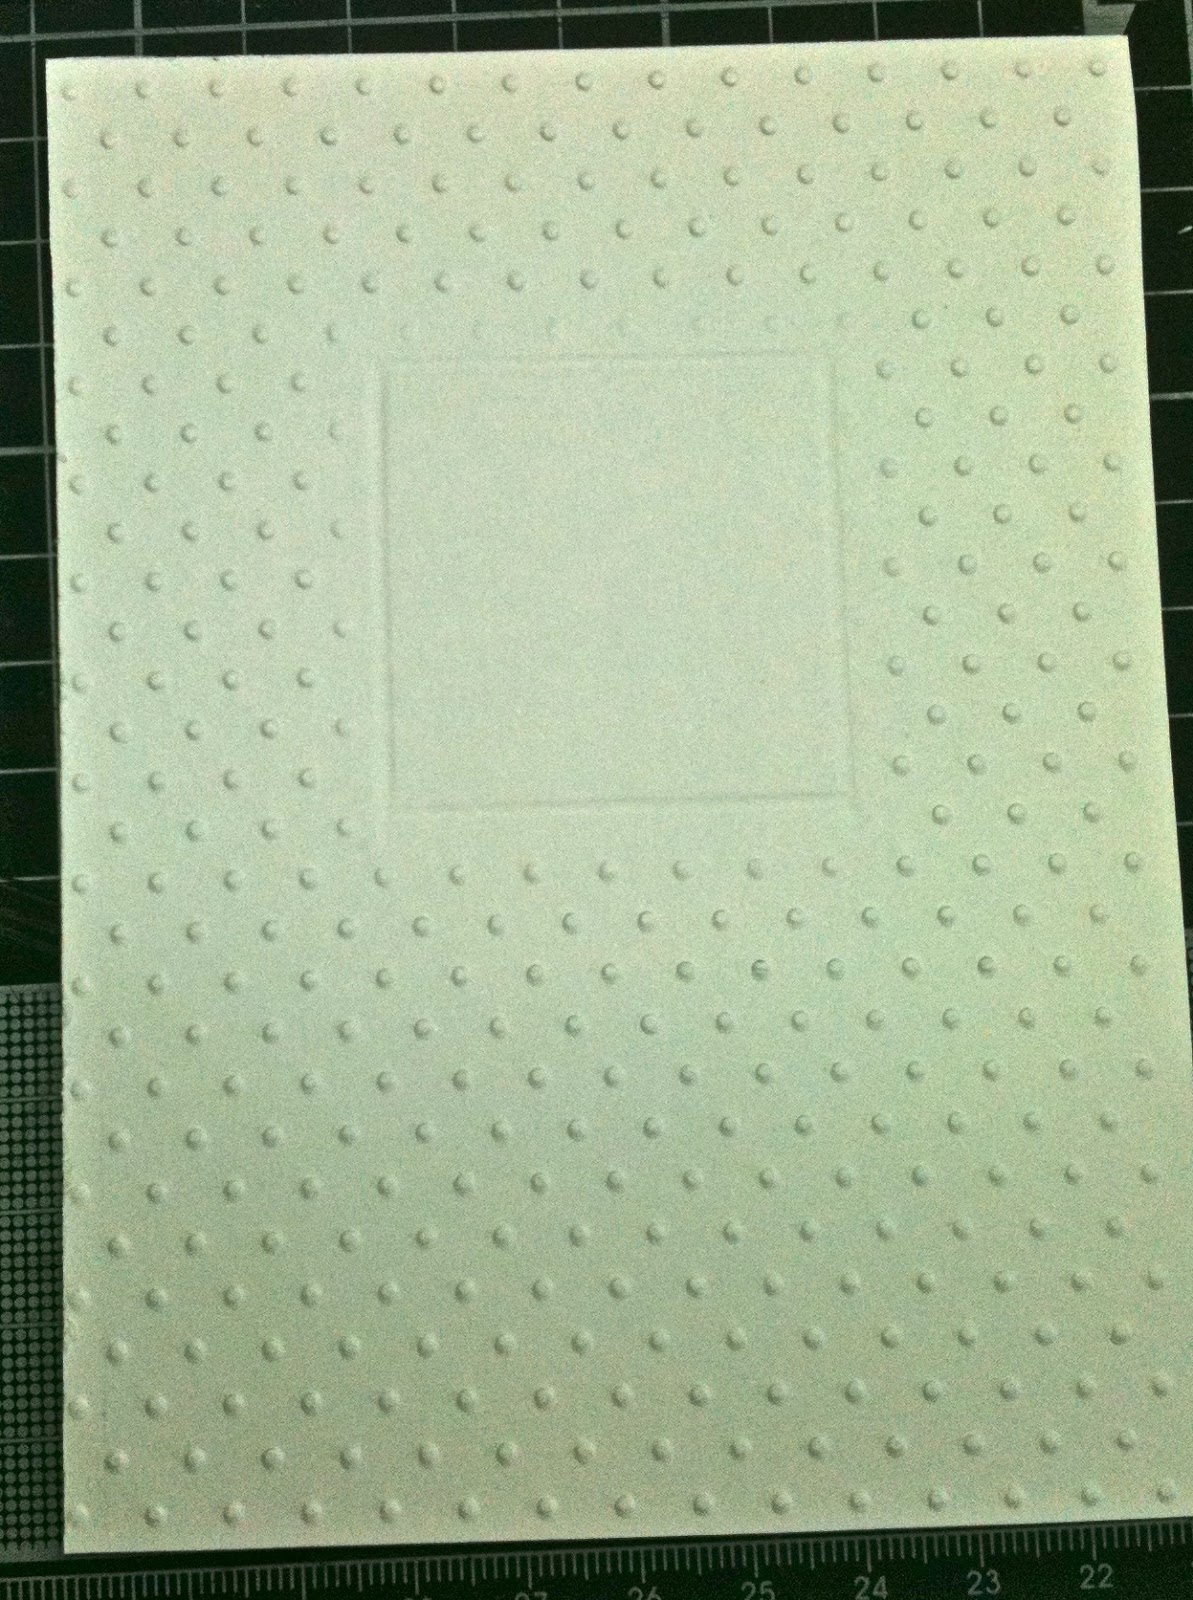
a little while back someone mentioned making void spaces in the embossing using
diffusers made of self healing cutting mats… so since I had an old self healing
mat that had definitely seen better days… I decided to upcycle it… and besides the shops don't carry the pre-made ones here!
 The
How to is basic… I took my old self healing mat.
The
How to is basic… I took my old self healing mat.
 I cut a shape out of the old self healing mat that I DO want embossing… so in this case the size of my average embossing folder… NOTE I have a second self-healing mat underneath to protect my desk.... definitely a good idea!
I found scoring the same line over and over with my craft knife then bending the self healing mat back away from the line on either side opened up the centre material leaving me with only the other side to cut. My steel ruler and spare knife blades were definitely needed!
I then cut out the shape that I did NOT want embossing from the piece… I used my spellbinders to make the shapes for me to cut out to give me a guideline. Circles were a lot harder! The frames I made should make some gorgeous
cards too J
NOTE the sandwich for using the spellbinders with the cutting mat...
A Plate, Cutting Mat, spellbinder C plate... there is NO B plate! ;-)


I
have now used these to make some cards using my A plate, B plate, embossing
folder with cardstock and then the diffuser… I did NOT need a second B plate with this, the frame I made becomes the B plate.


Do NOT force anything through your
Cuttlebug/die-cutting machine… Your machine can break... so can your plates... see my dear old C plate below... (read this as I take no responsibility if YOU break YOUR machine!)...

this works on my machine so thought I would
share what I did…
Happy Crafting… Sarah x
You might also like... How to stop the edges showing when using the narrow embossing folders.
You might also like... How to stop the edges showing when using the narrow embossing folders.