Showing posts with label card. Show all posts

Thursday, April 11, 2013

Wedding Card

Well my Nephew is getting married and I am gaining a Niece.... very exciting :-)  So to celebrate a wonderful young lady joining our family I made a card... I know... fancy that!


The background is a Cuttlebug Folder "Victoria" which was rolled through with the top B plate just on the edge of the folder so there isn't a folder mark left on the cardstock then I used the same folder with just a strip of self healing mat instead of the top B plate to get the stripe then simply used the Crafters Companion Ultimate Pro and embossing tool to make the lines.
The heart is Design ID #1292 from the Silhouette store called "Wedding Cameo" which I think is quite beautiful.  The frame is also cut on the Silhouette Cameo and Congratulations is sketched in the font Edwardian Script.

Hope you like it... Sarah x

Monday, March 11, 2013

5 Minute Make


5 Minute Make…

Yes really… 5 minutes… which makes it perfect for the in a hurry Oh My Gosh I need a card already moments… Admit it we have all had one of those moments!

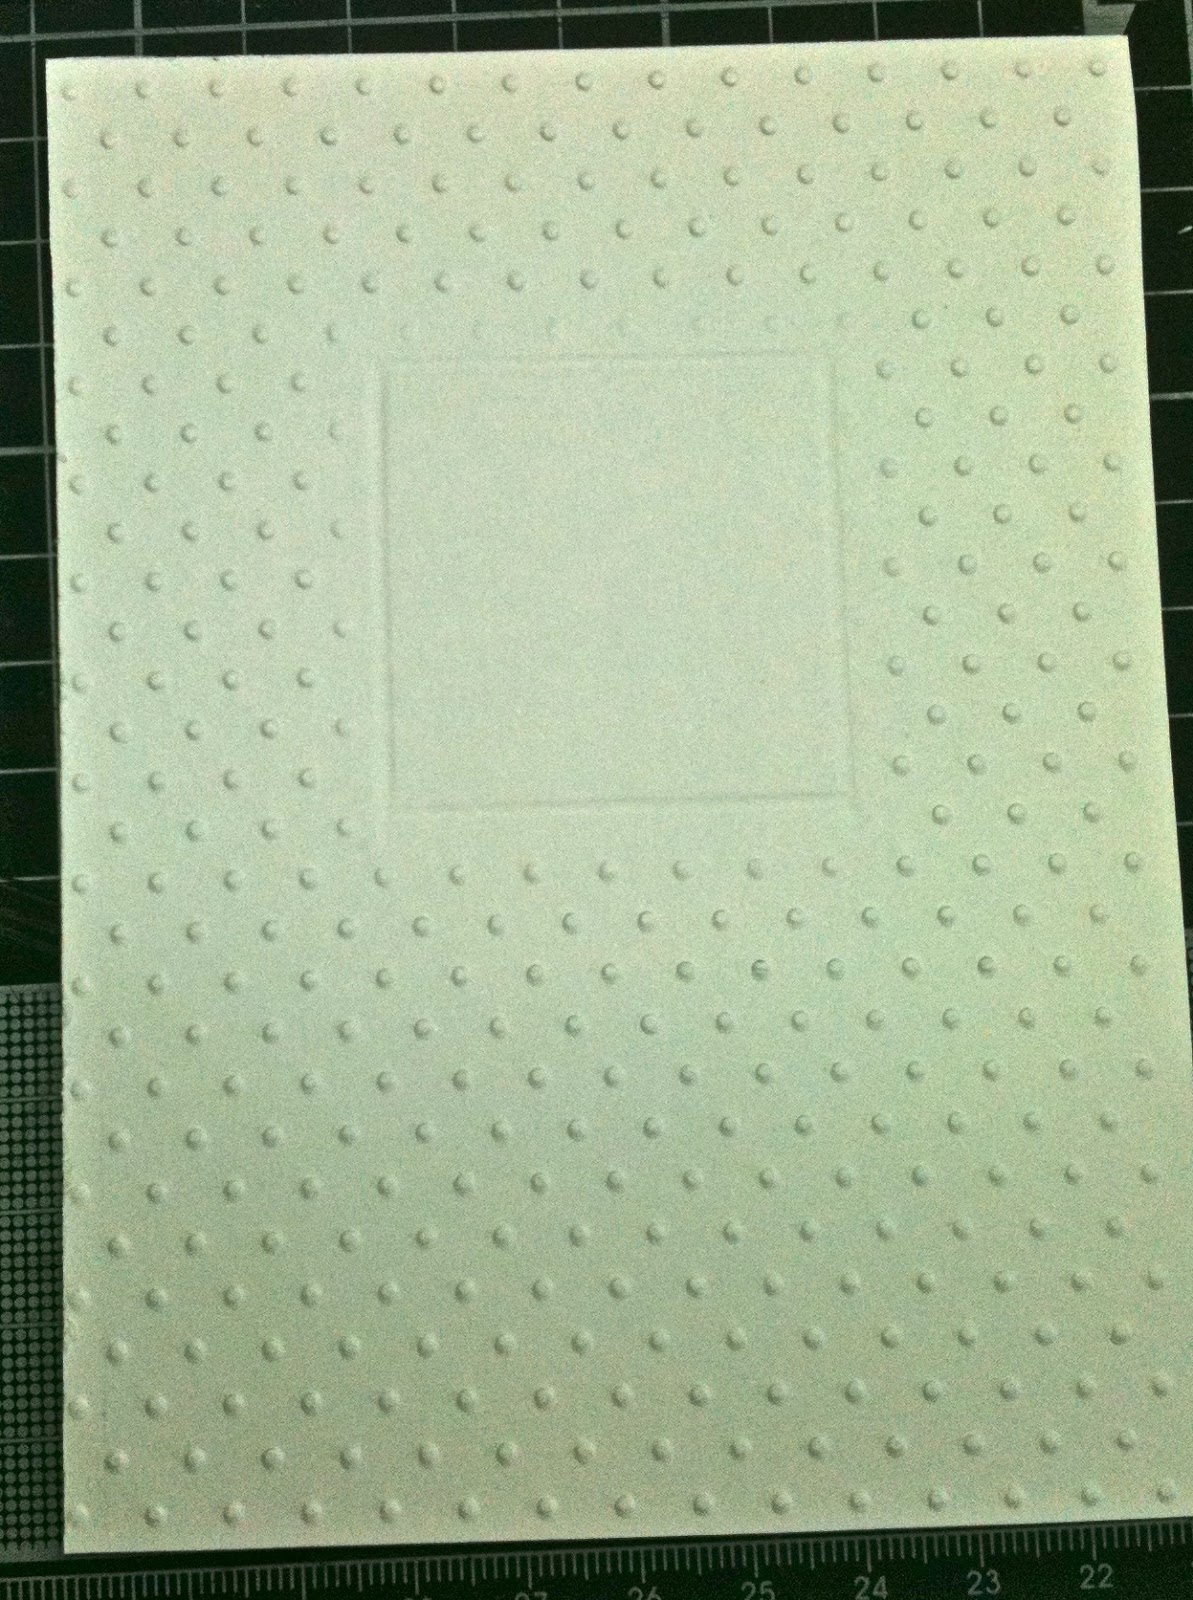
Use a Diffuser on your Swiss dots folder through your Cuttlebug (or other embossing machine).  If you don’t have a diffuser click here and make one.  With the Diffuser I made It is the same depth as the B plate for my Cuttlebug so my Sandwich was A, B, Swiss dots folder with cardstock, Diffuser.  (Don’t force anything through your Cuttlebug… they CAN break!)

Ignore the “Embossing only” as it is there so I don’t cut using my newer B plates!


Trim the cardstock you just embossed as this will be your card front.  Use an embossing board/ scoreboard/ embossing tool/ ruler and craft foam (gently) to score a square frame around the un-embossed area.

Use a Spellbinders square and your cuttlebug to cut and emboss a square to fit within the frame you just embossed and then emboss or stamp with a sentiment. 

I used the “Thank You” from the Best Friends Cuttlebug folders.  Then mount with foam squares in the frame and then mount your embossed panel onto your card using double sided and you are DONE.
 
Happy Crafting…
Sarah x

PS No responsibility taken if you break your Cuttlebug or plates doing this ;-)

Wednesday, March 6, 2013

Downhill run!


Ok still battling my list of Mad March Birthdays… I would ask why so many birthdays in March but since mine is one I better not!  Hehe…  This one is for a young man who is turning 9!


I am entering quite a few challenges with this one… I don’t think I will win any but it IS keeping me motivated to get these cards done in a timely and focused fashion! (Wonders never cease!) So thank you challenge makers… much appreciated!  Now in NO particular order…

First:  Colour challenge of GREEN… with CardMakinMamas.  Perfect for the month of March! 

Second: Simon Says Stamps Challenge of Anything goes with a highlight on Tim Holtz products… which I love especially for my male cards!

Third: Crafty Cardmakers Challenge of Masculine Birthday and Technology!

Fourth: Card marking and Papercraft wanted to see some results of using scraps!  That’s what my motorbike and happy birthday Panel is made out of!

Scraps... it's amazing what all those little bits can make!


Materials Used:
Green corrugated cardboard. 
Scrap card from stash.
Sizzix Tim Holtz embossing folder “steampunk”.
Cuttlebug “Celebration stamps” Die cut (the stamp shape).
Cuttlebug “Happy Birthday 2 x 2.75” folder.
Cuttlekids “Offroad” motorbike.

Thanks for stopping by…
Sarah x

Tuesday, March 5, 2013

Sky-blue-pink-with-polka-dots!


Todays make is a card to enter The Ribbon Girls March Challenge.  The must have is “twine or ribbon” so since yesterday I had to explain to my dear Husband and Sons WHY I received a bag of bakers twine by post from a lovely friend it seemed bakers twine was the order of the day! (Thank-you Sam!)

The challenge is also sponsored by Lili of the Valley which made me go digging in my stash!  A while back I bought a magazine and with it came a whole heap of gorgeous printed images from… you guessed it… Lili of the Valley so I decided to use those since I haven’t got my hands on any of their stamps as yet!

I am also entering this in the Cupcake Crafts Challenge for *Sparkle* as the cardstock is pearlescent and the brad is as one of my darling boys pointed out "pretty, pretty, shiny, shiny."  So I hope that qualifies as Sparkle :-)

In Mad March we have a whole string of birthdays so that is my focus this week… get them all done and posted. My Nanna’s birthday is one of the first so I picked out a beautiful Lili of the Valley image that lended its self to the colour that my Nanna used to tell us was her favourite… 

Sky Blue Pink with Polka dots!

So this is my interpretation of that with bakers twine featuring down the side with a happy birthday slider so it’s a little tactile and interactive.


I used:
Image: Lili of the Valley
Flower: Stampin’ Up! Punches.
Brad: Making Memories “Paperie Rouge”
Leaves: Create-a-flower Cuttlebug die and embossing folder.
Slider: “Fruit and tags” Cuttlebug cutting die and “Happy Birthday 2x2.75” embossing folder.
Patterned Paper: “The birthday brights” from Australian Simply Cards Magazine.
Punch: Martha Stewart Doily Lace.
Spellbinders Circle and Scalloped Circle.
Souffle white pen (for lettering).
Faber Castell Pencils for colouring the stamp.

Thanks for stopping by,
Sarah