Monday, March 11, 2013

How to make a diffuser for my Cuttlebug.


Diffusers for Cuttlebug.


Ok a little while back someone mentioned making void spaces in the embossing using diffusers made of self healing cutting mats… so since I had an old self healing mat that had definitely seen better days… I decided to upcycle it… and besides the shops don't carry the pre-made ones here!

The How to is basic… I took my old self healing mat.
I cut a shape out of the old self healing mat that I DO want embossing… so in this case the size of my average embossing folder… NOTE I have a second self-healing mat underneath to protect my desk.... definitely a good idea!
I found scoring the same line over and over with my craft knife then bending the self healing mat back away from the line on either side opened up the centre material leaving me with only the other side to cut.  My steel ruler and spare knife blades were definitely needed!


I then cut out the shape that I did NOT want embossing from the piece…  I used my spellbinders to make the shapes for me to cut out to give me a guideline.  Circles were a lot harder!  The frames I made should make some gorgeous cards too J  
NOTE the sandwich for using the spellbinders with the cutting mat... 
A Plate, Cutting Mat, spellbinder C plate... there is NO B plate! ;-)


I have now used these to make some cards using my A plate, B plate, embossing folder with cardstock and then the diffuser… I did NOT need a second B plate with this, the frame I made becomes the B plate.


Do NOT force anything through your Cuttlebug/die-cutting machine… Your machine can break... so can your plates... see my dear old C plate below... (read this as I take no responsibility if YOU break YOUR machine!)... 


this works on my machine so thought I would share what I did… 

Happy Crafting… Sarah x

You might also like... How to stop the edges showing when using the narrow embossing folders.


5 Minute Make


5 Minute Make…

Yes really… 5 minutes… which makes it perfect for the in a hurry Oh My Gosh I need a card already moments… Admit it we have all had one of those moments!

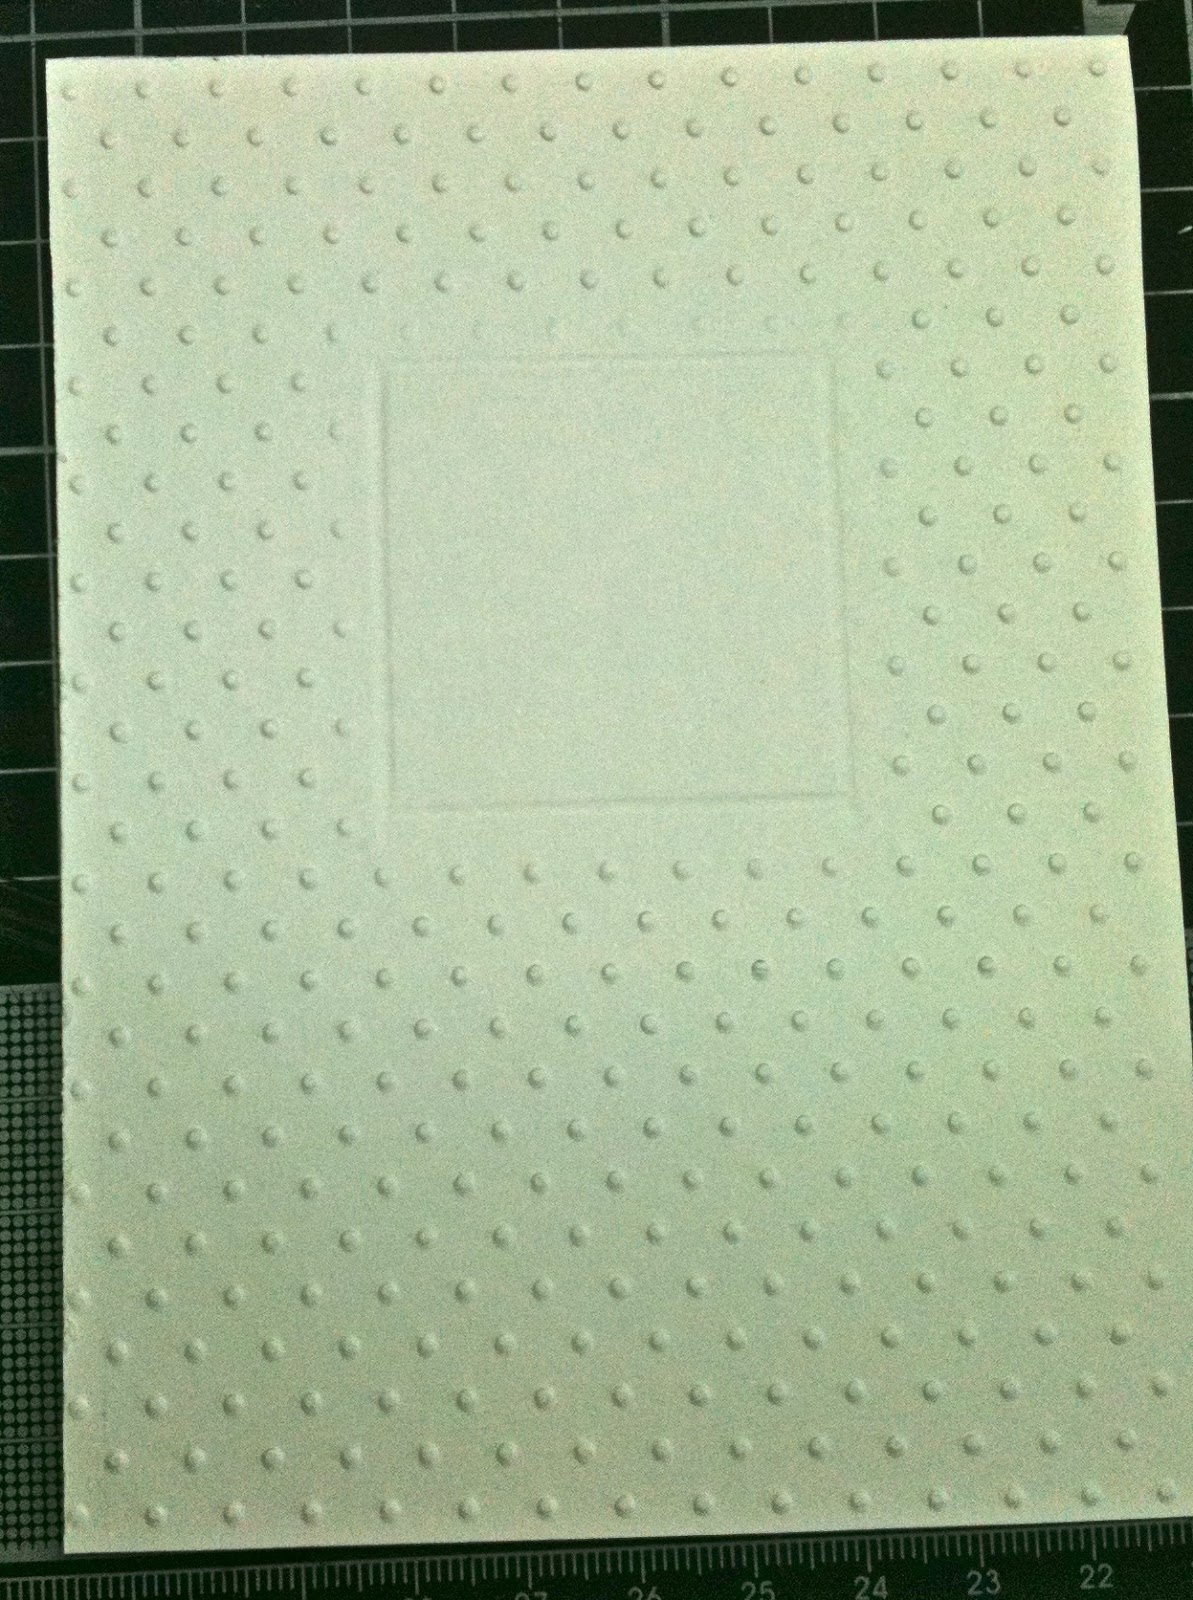
Use a Diffuser on your Swiss dots folder through your Cuttlebug (or other embossing machine).  If you don’t have a diffuser click here and make one.  With the Diffuser I made It is the same depth as the B plate for my Cuttlebug so my Sandwich was A, B, Swiss dots folder with cardstock, Diffuser.  (Don’t force anything through your Cuttlebug… they CAN break!)

Ignore the “Embossing only” as it is there so I don’t cut using my newer B plates!


Trim the cardstock you just embossed as this will be your card front.  Use an embossing board/ scoreboard/ embossing tool/ ruler and craft foam (gently) to score a square frame around the un-embossed area.

Use a Spellbinders square and your cuttlebug to cut and emboss a square to fit within the frame you just embossed and then emboss or stamp with a sentiment. 

I used the “Thank You” from the Best Friends Cuttlebug folders.  Then mount with foam squares in the frame and then mount your embossed panel onto your card using double sided and you are DONE.
 
Happy Crafting…
Sarah x

PS No responsibility taken if you break your Cuttlebug or plates doing this ;-)

Saturday, March 9, 2013

House Mouse has Gone Fishin'!


 I adore this image as do my boys who both sat and coloured in their own ones this morning.  Thanks House Mouse for 10 minutes of family craft time!

Anyway... on with the card making... House Mouse had a Challenge!  It was WINGS... so anything House Mouse with wings... my Gone Fishin' stamp sprang to mind... so here it is!


The actual House Mouse Challenge is 
Things with WINGS for Mousey Challenge # HMFMC139 so stop by and have a look at the other entries and some great ideas from the design team.

Materials used in this project…
House Mouse stamp “Gone Fishin’”
Corners cut ¼” Crop-a-dile Corner Chomper.
Memento black Dye ink.
Blue “feather” glitter cardstock from “Animal Crackers Stack” by DCWV.
Cuttlebug used for cutting and embossing Spellbinders Shapeabilities Ladies Fashion Buckles.
Blue pearls, cardstock, feathers and ribbon from my stash.
Coloured with Faber Castell Pencils.

Thanks for visiting…
Sarah x

Friday, March 8, 2013

Queen for a day!

I sure am learning a lot as I whittle down my Mad March Birthdays list... especially what works for me and what doesn't!  Including blogger at the moment!  I keep signing up to follow blogs and by the next day I am no longer following... hmmmm

Okay todays card is again my Magnolia "Christmas Tilda With Puppy" but she is not for Christmas again today since I wanted to explore the image a little more after yesterdays effort.  I think she lends herself quite well to birthdays!  Anyway enough babble... the card:


To tie in with a Shabby Chic theme everything including the lace (given to me many years ago by my Mother In Law!) got a good dabbing of Tim Holtz Distress Ink... I did find there is a fine line between "distressed" and "too much" lol.

The Challenges... well firstly... thanks to all of the Challenges for giving me some direction and some deadlines!  No I don't expect to win anything but you are all giving me some great ideas!  Now the ones this card is entered in...

Crafty Sentiment Designs... This was a difficult one for me... Pretty in PINK! (I definitely managed lots of pink though and this stamp is sooooo Pretty!)
Our Creative Corner... Shabby Chic with Fabric Flowers and a Crown... There is also the colours from the inspirations photo, pretty pink... light blue and Tim Holtz's antique linen (I am wearing this inkpad out!).
Marvelous Magnolia - Anything goes!  Very nervous about entering this one... everyone's entries there look like they have been crafting since they were born! 

Materials:
Stamps:  Magnolia "Christmas Tilda with Puppy"; "Queen For the day" from the Cool Britannia collection by Louise Allen.
Cardstock and doilies from my stash.
Inks: Memories Dye ink - black; Tim Holtz Antique Linen.
Embossing: Cuttlebug embossing folder "Wrought Iron"
Circle and Scalloped Circle: Spellbinders.
Lace and fabric flowers were from my stash. (It's amazing what I find when I go digging in boxes!)
Pencils: Faber Castell.
Punch: Martha Stewart Doily Lace.

Anyway... I hope you like this one... it's growing on me...
Sarah x

Thursday, March 7, 2013

Ribbons Galore!

Well a week or so back I went looking for a specific ribbon... well that didn't go so well... not in this box... not in that bag... Limit reached...

All the Ribbon came out... my eldest son enjoyed dumping out boxes for me (Thanks T!);  Then the colour sort began;  Then came the "too wide pile";

I had some plastic "photo" boxes and some IKEA cardboard boxes so they got requisitioned; A quick grab of the Crop-A-Dile and Eyelets... and this is the results!  Order and visual quick reference... both of which I need when working.

I have added a strip of double sided to the front of each box to keep the majority of the ribbons attached until needed... this makes a huge difference in keeping them orderly.


Hope this helps someone else with feral, rabid ribbons!

Thanks for stopping by...


Sarah x